LQ
Ever wondered how to make an app for both Android and iPhone without learning any difficult language like Java, Dart and Swift? React Native with Expo is your answer! This guide will walk you through building your first cross-platform mobile app, making it super simple for beginners, even if you're just starting out.

So you've got this app idea sitting in your head, right? Maybe it's a note-taking app, a simple game, or something to track your daily tasks — or maybe even something bigger like an LMS or e-commerce platform. But the moment you start thinking about actually building it, you got a shock. "Do I need to learn Java and Kotlin for Android? Swift for iOS? And build everything twice?" That thought alone has stopped a lot of people before they even start.
But what if you could write one codebase and ship it on both Android and iOS — and the web too? That's exactly what React Native with Expo lets you do, using JavaScript you probably already know. For someone just getting into mobile development, this combo is honestly a game changer.
When I first tried getting into mobile dev, just the setup felt overwhelming — Android Studio, Xcode, Gradle errors at 2am. Then I found Expo and things clicked. It removes most of that hard works and lets you actually focus on building an app. So let's walk through it together.
React Native is a framework developed by the Meta (Facebook Main/ Parent Company) that lets you build mobile apps using JavaScript and React. If you've done any React web development, the transition feels pretty natural. The big thing to understand is — it's not a webview. It's not wrapping your HTML in an app shell.
It actually compiles your code into real native UI components. So a <Text> component becomes a native UITextView on iOS and a TextView on Android. The result feels like a proper native app because it basically is one.
Here's the thing — raw React Native still needs quite a bit of native setup. You're dealing with Android Studio, Xcode, CocoaPods, Gradle... it adds up fast and honestly takes the fun out of starting a new project.
Expo wraps around React Native and handles most of that for you. It uses what they call a "managed workflow" and practically speaking it means:
Think of Expo as the assistant that sets up your workspace so you can just... code. For most projects, especially early ones, it's more than enough.
The setup is refreshingly simple. Here's what you need:
Go to nodejs.org and download the LTS version. After installing, open your terminal and verify:
node -v
npm -v
You should see version numbers. If not, reinstall and check again.
Install the Expo command line tool globally:
npm install -g expo-cliThe -g flag installs it globally so you can use it anywhere. Once it's done:
expo --versionAny editor works but VS Code is what most React Native devs use. The extensions for JavaScript and React make life a lot easier.
Download the Expo Go app from the Play Store or App Store. This is how you'll preview your app on a real device without any build steps.
Navigate to wherever you keep your projects and run:
expo init MyFirstAwesomeAppIt'll ask you to pick a template. Go with blank — cleanest starting point, no extra stuff you don't need yet. Expo will pull in all the dependencies, which takes a minute or two. Good time for chai.
Once that's done:
cd MyFirstAwesomeApp
npx expo start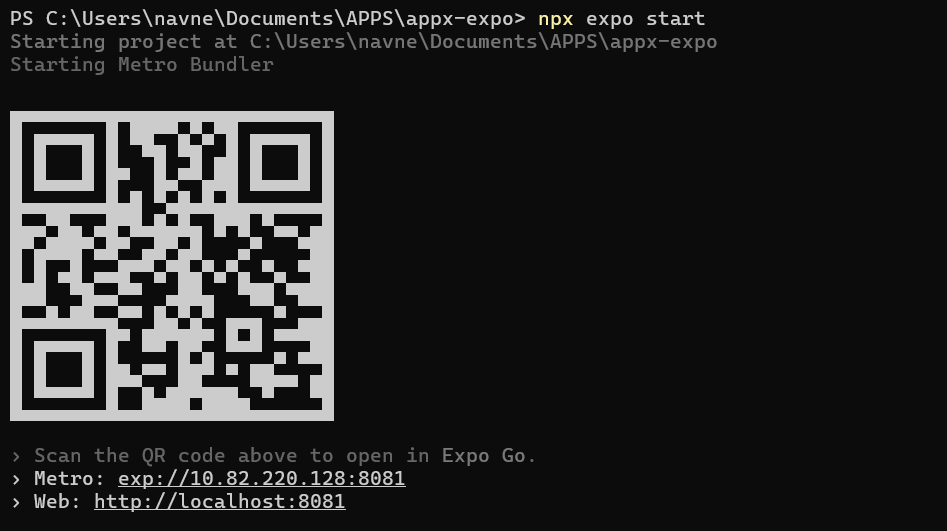
This opens Expo Developer Tools in your browser with a QR code. Open Expo Go on your phone, scan it, and your app appears on your device within seconds. That never gets old honestly.
Open the project in VS Code and look at App.js. You'll see something like this:
import { StatusBar } from 'expo-status-bar';
import { StyleSheet, Text, View } from 'react-native';

export default function App() {
  return (
    <View style={styles.container}>
      <Text>Open up App.js to start working on your app!</Text>
      <StatusBar style="auto" />
    </View>
  );
}

const styles = StyleSheet.create({
  container: {
    flex: 1,
    backgroundColor: '#fff',
    alignItems: 'center',
    justifyContent: 'center',
  },
});
If you've written React before, a lot of this looks familiar. A few things worth noting:
<View> is basically your <div> from web — a container for everything.<Text> is required for any text. Unlike HTML, you can't just drop text inside a View directly.StyleSheet.create works like CSS but in JavaScript objects. alignItems and justifyContent are the same Flexbox properties you know from web.flex: 1 tells the container to take up all available space.Try changing the text inside <Text> to something like "Hello from my first Expo app!" and save. The change shows up on your phone almost instantly — that's Fast Refresh and it makes development feel snappy.
Once you're comfortable with the basics, these are the natural next steps:
Any real app has multiple screens. React Navigation is the standard solution here and works well with Expo.
Start with React's built-in useState and useContext. As your app grows you might want to look at Zustand or Redux, but don't jump there too early.
Camera, GPS, push notifications — Expo has APIs for all of these. You just install the relevant package (like expo-camera) and import what you need.
JavaScript's fetch works fine in React Native. Axios is also popular if you want something with more features out of the box.
Mostly yes, but it's worth knowing the tradeoffs:
For 90% of apps — especially anything you're building in the early stages — Expo is absolutely the right choice. Don't overthink it.
When you're ready to ship, Expo has EAS Build which handles building your app for the Play Store and App Store. You run:
eas build --platform android
eas build --platform ios
Expo builds it in the cloud and gives you an .apk or .ipa file ready for upload. You'll still need developer accounts for both stores, but the build process itself is handled for you.
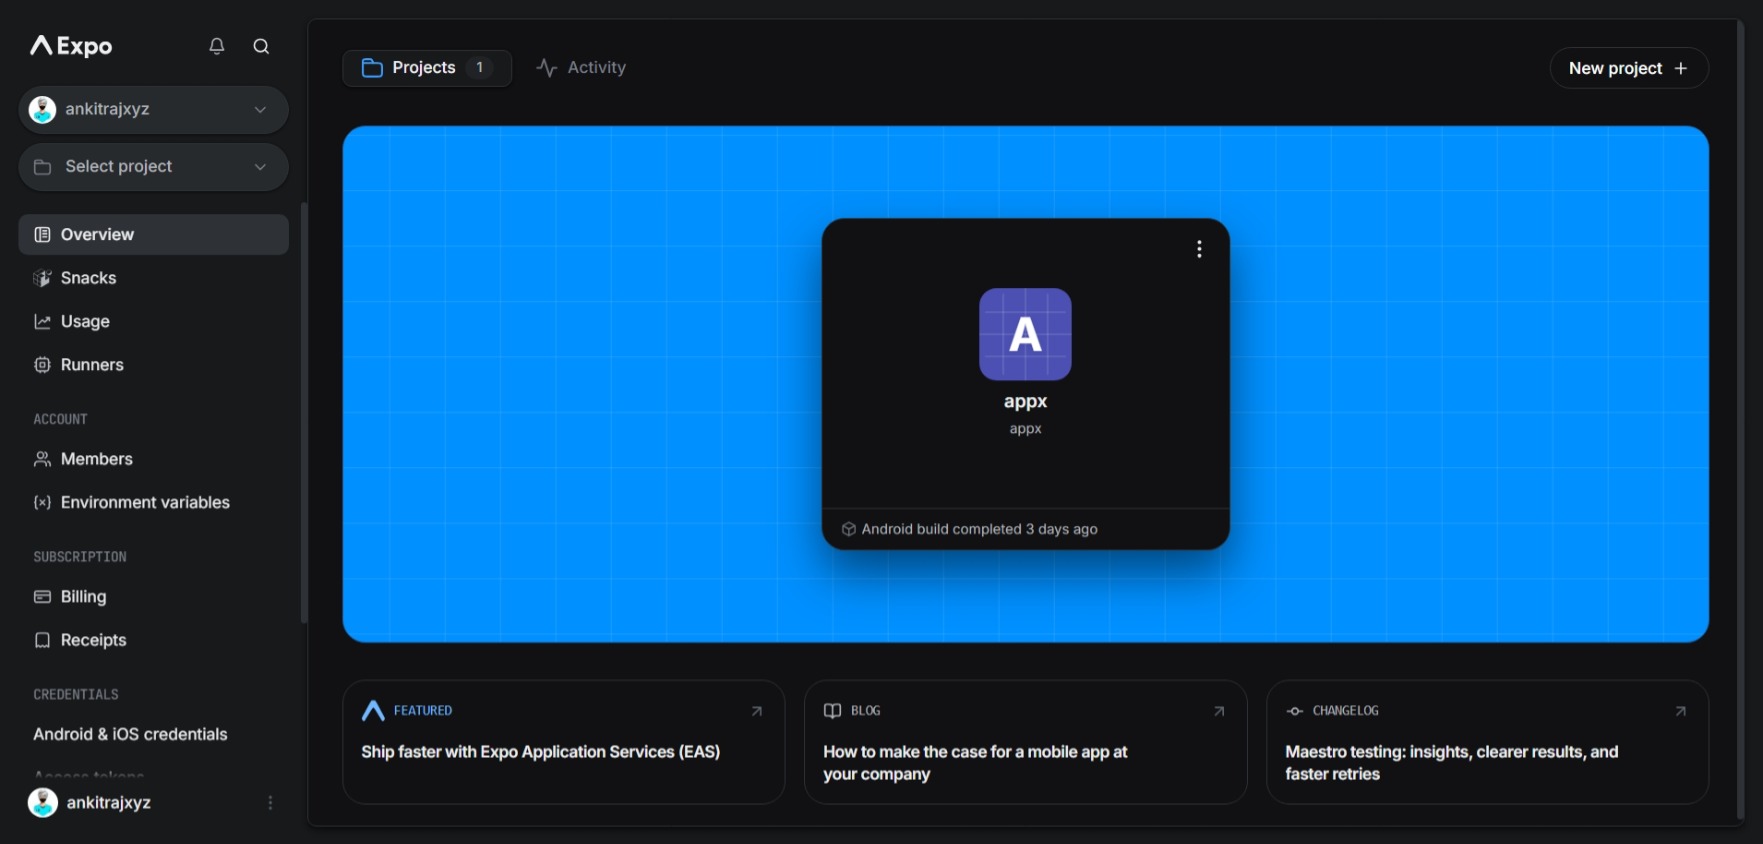
You can view all of your project on your Expo account online and get all of your uploaded apps and detils on your account panel.
Mobile development felt intimidating to me at first — but React Native with Expo genuinely flattens the learning curve. Here's what actually helped:
That idea you've been sitting on? Fire up a terminal and start. The mobile world doesn't need more planning — it needs your app in it. Happy coding.
What's next?
Apply your knowledge with one of our rigorous, hands-on internship programs.
Browse Internships